User Guidance User Guidance
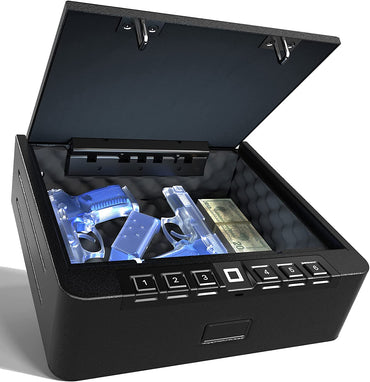
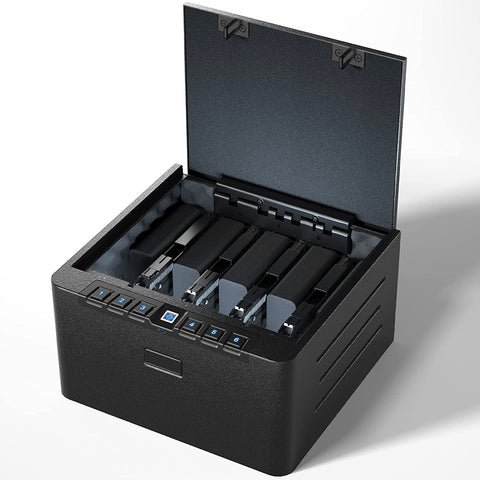
S10 (Biometric) Gun Safe - Manual S10 (Biometric) Gun Safe - Manual
PRE-USE Instructions
Important Safety Instructions
- DO NOT use rechargeable batteries or any other type of non-alkaline battery.
- DO NOT mix old and new batteries. DO NOT mix alkaline and standard batteries.
- DO NOT lock the key inside safe.
- DO NOT leave the safe in extreme weather conditions. Battery power may be affected.
- DO NOT store loaded firearms in this unit. Firearms are serious in nature and must be treated with respect and stored responsibly.
Battery Installation
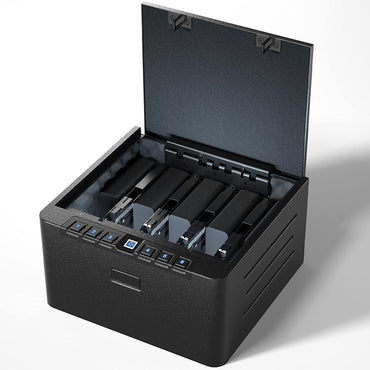
Insert the backup key in front of the keyhole on the top of the safe to open the safe.

- Inside the safe, find the battery compartment(see FIGURE A).
- Open the battery cover and insert 4 AA alkaline batteries (not included) into the battery compartment. Please note the "+" and "-" symbols. The "-" end of the battery is pressed against the spring in the compartment.
- After inserting the batteries correctly, put the battery compartment into the safe, the safe will emit a short beeping sound.
- When you hear the beep, close the battery cover. You are now ready for the digital code and fingerprint programming.
- - Always use brand new AA alkaline batteries, using other batteries may result in a nonfunctional situation.
- - When you close the lid completely, your XDeer® safe will be locked, do not place the spare key inside the safe.
Master Code Programming
Default password should be changed as soon as you first use it to prevent authorized persons accessing to your safe deposit safe, so it should be kept confidential.
*PROGRAMMING TIPS
- Your code can be a minimum of 4 and a maximum of 6 digits.
- Two keys cannot be pressed simultaneously.
- Programming a new code will overwrite your previous code.

- Enter the master code or use the backup key to open your safe and start programming your new master code now.
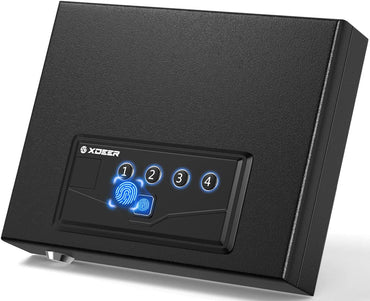
- After opening the safe, press and hold the "PROGRAM" button(see FIGURE B) 3 seconds, then release the "PROGRAM" button, the backlit keypad light will come on and a beep will sound.
- At this point, please enter the new master code you want to program.
- After entering the new master code, press(just single press) the "PROGRAM" button again then release the "PROGRAM" button, the backlit keypad light will flash twice and beep twice. This beep will confirm the new master code has been program successfully.
- Now you can test your new master code. If you fail to set it up successfully, the backlit keypad light will flash 5 times with 5 times beeps, the new master code will not work and you just need to start programming it again from step 2.
*Security locking mechanism: If you enter wrong master code 5 times in a row, the backlit keypad will be lock for 5-min (the backlit keypad will blink continuously for 5 minutes and beeps continuously). You can stop it by using backup key to open it and remove the battery or adapter.
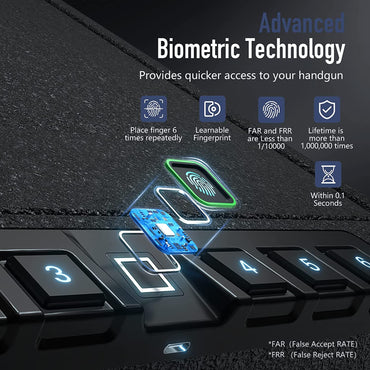
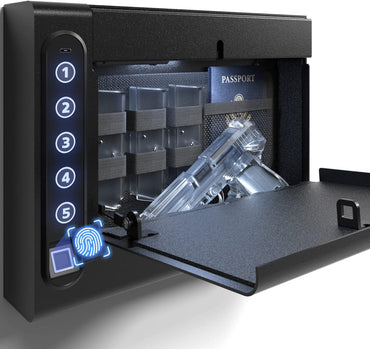
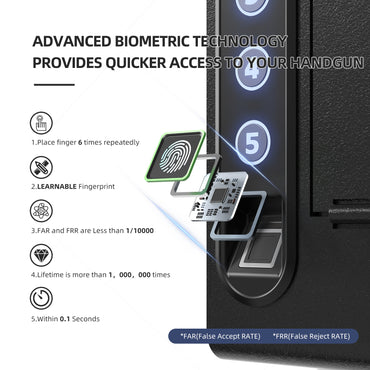
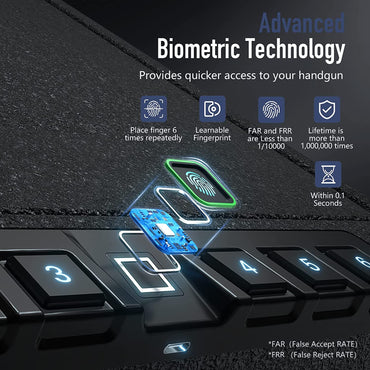
Programming the Biometric Scanner
Programming the Fingerprints
- Use the button tool to press and hold the "PROGRAM" button until the backlit keypad light flashes one time with one beep.
- Release "PROGRAM" button, a finger swipe across fingerprint scanner for 4 times.
- Fingerprint programming is successful if backlit keypad light flashes twice with double beeps.
Deleted the Fingerprints
- Press and hold the "PROGRAM" button and don't let go.
- There is one beep and backlit keypad light flashes one time.
- Don’t release of fingers and keep holding the "PROGRAM" button, there are double beeps and backlit keypad light flashes twice, then release it. (The whole process will take 5-6 seconds)
- All the fingerprints have been deleted.
IMPORTANT: You must press and hold the "PROGRAM" button from the time the backlit keypad light flashes once and beeps once to the time the backlit keypad light flashes twice and beeps twice.
Sound ON/OFF
Sound ON: Hold the “1" button for 5 seconds until you hear one beep and the keypad light will flash once together, the sound is ON.
Sound OFF: Repeat the previous step, the sound is OFF.
Low Battery Warning
If all backlit keypad lights will flash 10 times with 10 beeps when opening the safe by electronics way, it means your battery level is critically low and your safe needs to be replaced the 4 new batteries.
Securing Your Safe
Using the Mounting Screws
- Fix the safe in the place which is not easy to move.
- Drill holes for expansion screws in the right place.
- Turn the expansion screws counter clockwise to separate.
- Use the expansion screws to secure the safe to the platform.
- Make sure the safe is mounted in place as required and then tighten all screws.
- NOTE1: Use the expansion screws when there is a concrete platform surface.
- NOTE2: Use the clamping screws when there is a wooden platform surface.
*Internal LED
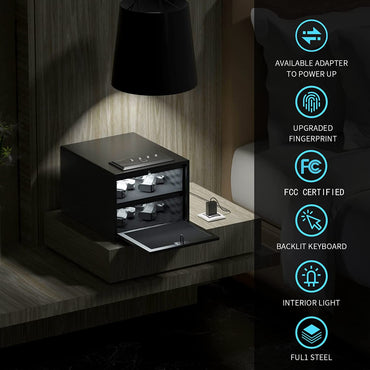
In order to save the loss of battery power in the safe, the internal LED will only light up when using the master code and fingerprint to unlock, and the adapter interface connected to the power supply can not make the internal LED light always on.
Using the Security Cable
- Loop the security cable around a secured object.
- Run the end of the security cable through the eye of the other end and pull tight around the object.
- Place the end of the security cable put inside the security cable hole inside your XDeer® safe.
- Secure the screw cap of the security cable to the head of the security cable inside the safe.
- Make sure the safe closes with the security cable secured inside the quick release security cable mount.
PRE-USE Instructions
Important Safety Instructions
- DO NOT use rechargeable batteries or any other type of non-alkaline battery.
- DO NOT mix old and new batteries. DO NOT mix alkaline and standard batteries.
- DO NOT lock the key inside safe.
- DO NOT leave the safe in extreme weather conditions. Battery power may be affected.
- DO NOT store loaded firearms in this unit. Firearms are serious in nature and must be treated with respect and stored responsibly.
Battery Installation
Insert the backup key in front of the keyhole on the top of the safe to open the safe.

- Inside the safe, find the battery compartment(see FIGURE A).
- Open the battery cover and insert 4 AA alkaline batteries (not included) into the battery compartment. Please note the "+" and "-" symbols. The "-" end of the battery is pressed against the spring in the compartment.
- After inserting the batteries correctly, put the battery compartment into the safe, the safe will emit a short beeping sound.
- When you hear the beep, close the battery cover. You are now ready for the digital code and fingerprint programming.
- - Always use brand new AA alkaline batteries, using other batteries may result in a nonfunctional situation.
- - When you close the lid completely, your XDeer® safe will be locked, do not place the spare key inside the safe.
Master Code Programming
Default password should be changed as soon as you first use it to prevent authorized persons accessing to your safe deposit safe, so it should be kept confidential.
*PROGRAMMING TIPS
- Your code can be a minimum of 4 and a maximum of 6 digits.
- Two keys cannot be pressed simultaneously.
- Programming a new code will overwrite your previous code.

- Enter the master code or use the backup key to open your safe and start programming your new master code now.
- After opening the safe, press and hold the "PROGRAM" button(see FIGURE B) 3 seconds, then release the "PROGRAM" button, the backlit keypad light will come on and a beep will sound.
- At this point, please enter the new master code you want to program.
- After entering the new master code, press(just single press) the "PROGRAM" button again then release the "PROGRAM" button, the backlit keypad light will flash twice and beep twice. This beep will confirm the new master code has been program successfully.
- Now you can test your new master code. If you fail to set it up successfully, the backlit keypad light will flash 5 times with 5 times beeps, the new master code will not work and you just need to start programming it again from step 2.
*Security locking mechanism: If you enter wrong master code 5 times in a row, the backlit keypad will be lock for 5-min (the backlit keypad will blink continuously for 5 minutes and beeps continuously). You can stop it by using backup key to open it and remove the battery or adapter.
Programming the Biometric Scanner
Programming the Fingerprints
- Use the button tool to press and hold the "PROGRAM" button until the backlit keypad light flashes one time with one beep.
- Release "PROGRAM" button, a finger swipe across fingerprint scanner for 4 times.
- Fingerprint programming is successful if backlit keypad light flashes twice with double beeps.
Deleted the Fingerprints
- Press and hold the "PROGRAM" button and don't let go.
- There is one beep and backlit keypad light flashes one time.
- Don’t release of fingers and keep holding the "PROGRAM" button, there are double beeps and backlit keypad light flashes twice, then release it. (The whole process will take 5-6 seconds)
- All the fingerprints have been deleted.
IMPORTANT: You must press and hold the "PROGRAM" button from the time the backlit keypad light flashes once and beeps once to the time the backlit keypad light flashes twice and beeps twice.
Sound ON/OFF
Sound ON: Hold the “1" button for 5 seconds until you hear one beep and the keypad light will flash once together, the sound is ON.
Sound OFF: Repeat the previous step, the sound is OFF.
Low Battery Warning
If all backlit keypad lights will flash 10 times with 10 beeps when opening the safe by electronics way, it means your battery level is critically low and your safe needs to be replaced the 4 new batteries.
Securing Your Safe
Using the Mounting Screws
- Fix the safe in the place which is not easy to move.
- Drill holes for expansion screws in the right place.
- Turn the expansion screws counter clockwise to separate.
- Use the expansion screws to secure the safe to the platform.
- Make sure the safe is mounted in place as required and then tighten all screws.
- NOTE1: Use the expansion screws when there is a concrete platform surface.
- NOTE2: Use the clamping screws when there is a wooden platform surface.
*Internal LED
In order to save the loss of battery power in the safe, the internal LED will only light up when using the master code and fingerprint to unlock, and the adapter interface connected to the power supply can not make the internal LED light always on.
Using the Security Cable
- Loop the security cable around a secured object.
- Run the end of the security cable through the eye of the other end and pull tight around the object.
- Place the end of the security cable put inside the security cable hole inside your XDeer® safe.
- Secure the screw cap of the security cable to the head of the security cable inside the safe.
- Make sure the safe closes with the security cable secured inside the quick release security cable mount.


